

When Instagram debuted in 2010, only square photographs were permitted. Users had to crop photographs to fit, even if it meant removing details. Instagram finally added portrait and landscape modes in 2015, which made it easier to share full-size pictures. Even now, the app still cuts off shots that aren’t the right size.
You’re not the only one who has posted a picture and then seen that parts of it were missing. This is good news: Instagram has tools built in that let you post full pictures without scaling them down. You can also be even more in charge of resizing with apps from other developers.
This guide will show you the best ways to make sure that your pictures stay full, clear, and just the way you want them to look, without being cropped.
Why Instagram Crops Your Photos: Understanding the Basics

Instagram often crops photos to match its standard square or rectangular formats. This happens because the platform wants posts to look consistent. When a picture does not fit these aspect ratios, Instagram will trim the edges. This can remove important parts of an image. If users adjust their photos to match Instagram’s size requirements, they can prevent unwanted cropping.
Instagram’s 2025 Image Guidelines: What’s New?
Instagram updated its image rules in 2025 to increase post quality. Feed photos now work best with a 4:5 aspect ratio (1080 x 1350 pixels) instead of the classic square format.
Profile grids also got a slight makeover, shifting from squares to rectangles to match the vertical layout that most people prefer. For Stories and Reels, the recommended size is still 1080 x 1920 pixels (9:16 aspect ratio).
How to Master Instagram’s Built-In Tools
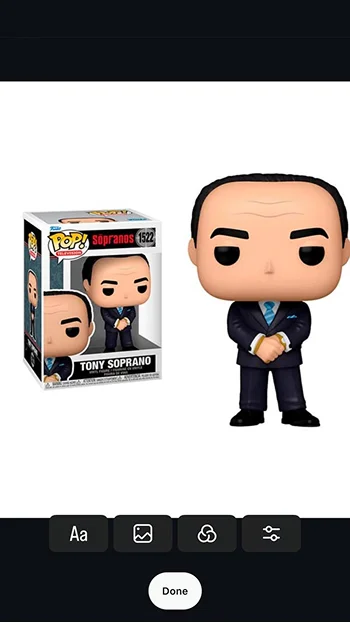
When you upload a picture, Instagram might try to crop it into a square. If that happens, just tap the expand icon (the two arrows in the bottom-left corner), and boom! Your whole picture fits.
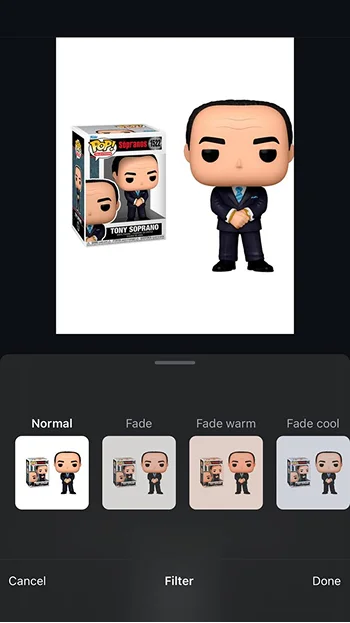
If it still looks a little off, you can fix it up before posting. Swipe through the filters until you find one that makes your photo pop. If it needs a little extra love, tap “Edit” and play around with brightness, contrast, or saturation.

Still not fitting right? No worries. Just spread your fingers apart on the screen to zoom out, and Instagram will add a nice white border around it. That way, nothing gets cut off.
Instagram already gives you everything you need to post full pictures. It’s all about using the right tools.
Beyond Basic Borders: Creative Framing Ideas
If you’re looking to get creative with your Instagram photos, AI tools can help you extend the edges of your images naturally. It allows you to fit your photos into Instagram’s dimensions without cropping or adding plain borders.
Using AI to Extend Image Edges
Several AI-powered tools can expand your images smoothly:
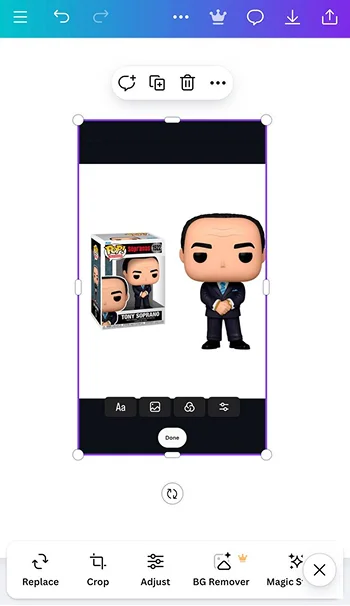
- Canva’s Magic Expand: Canva Pro offers a feature called Magic Expand, which lets you extend images in any direction. Simply upload your photo, select the area to expand, and Canva’s AI will fill in the gaps to match your original image’s style.
- Pixelcut’s Uncrop Tool: Pixelcut provides an Uncrop tool that uses AI to enlarge your image’s canvas. Upload your picture, adjust the canvas size, and the AI will generate the extended background, blending it well with your photo.
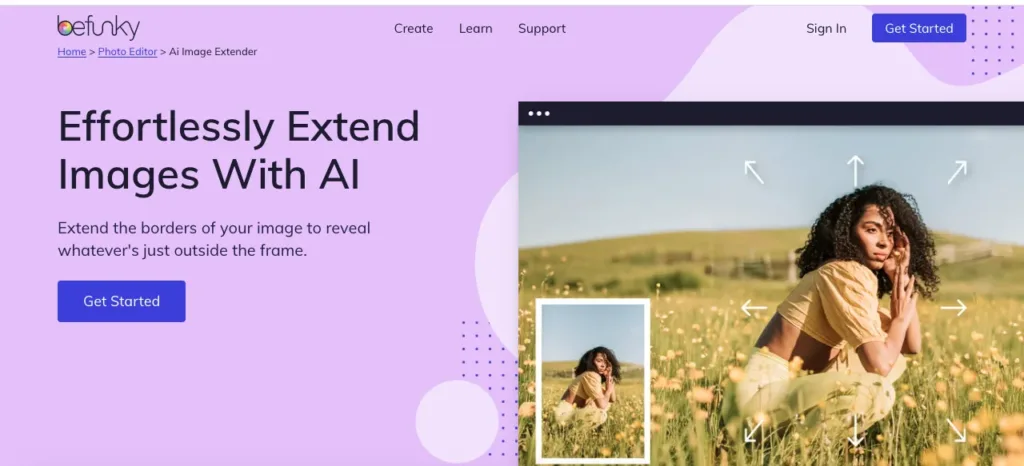
- BeFunky’s AI Image Extender: BeFunky offers an AI-powered Expand tool that analyzes your photo and adds new areas that fit right in. This is useful for resizing images for various projects or fixing awkward framing.
How Can You Post Multiple Full-size Photos on Instagram?
Instagram lets users publish many photographs of different sizes in a carousel without resizing them. This lets you blend portrait and landscape photos without missing sections.
To do this, follow these steps:
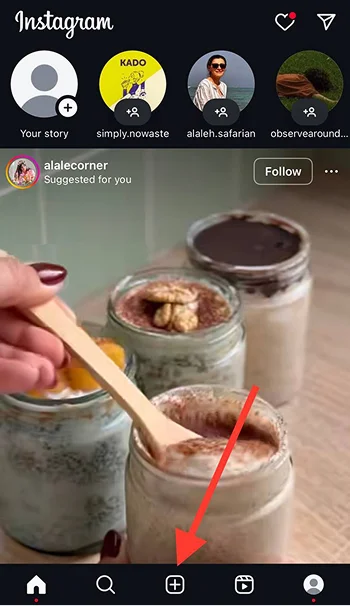
- Open Instagram and start a new post – Tap the plus (+) icon at the bottom or swipe right anywhere in your Feed.
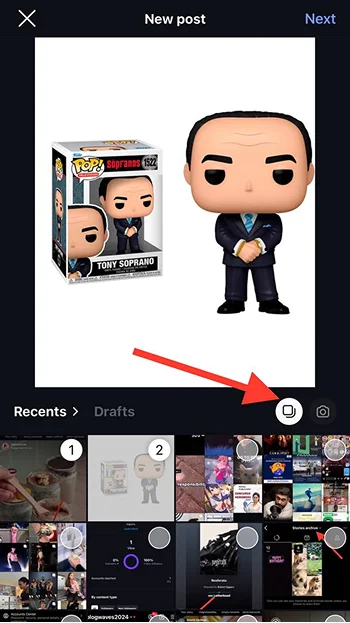
- Select multiple photos – Tap POST, then tap SELECT MULTIPLE to choose up to 10 photos or videos from your phone’s library.
- Adjust the crop for each photo – Tap on any image, then touch the screen to adjust how it fits in the frame. Instagram allows you to reposition each picture so it appears exactly as you want.
- Apply filters and edits – If needed, apply filters or make adjustments before posting.
- Share your post – Once everything looks good, tap Next, add a caption, and share your carousel.
Top Third-Party Apps for Resizing
You can also use third-party apps. Your full picture fits perfectly with many free tools that adjust images without losing quality.
Best Free Tools for iOS and Android
Photo & Picture Resizer (Android)
This simple app resizes images quickly and sharply. Select a photo, resize, and save.
Image Size (iOS)
The app lets you enter exact photo proportions. It’s simple to guarantee your photo fits Instagram.
Adobe Express (iOS & Android)
Resizing photos with a few clicks is free and online. It has additional editing options for customization.
How to Use Canva or Adobe Express for Custom Sizes
If you want more control over resizing, Canva and Adobe Express let you set custom dimensions.
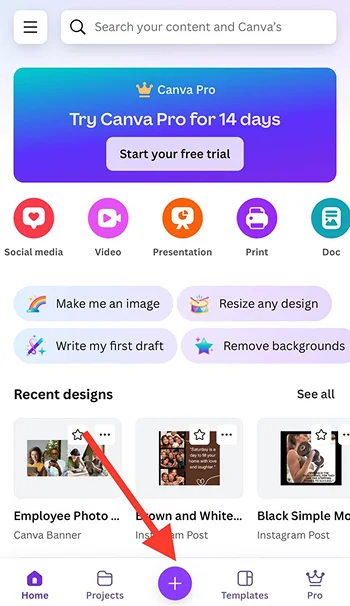
Using Canva:
- Open the Canva app or website.
- Tap “Create a design,” then select “Custom size.”
- Enter your preferred dimensions (e.g., 1080 x 1350 pixels for Instagram posts).
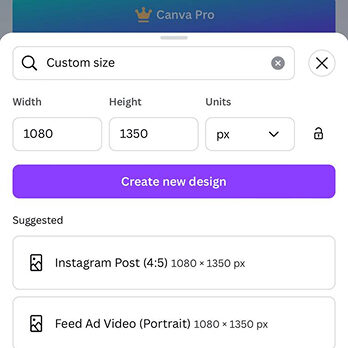
- Upload your image and adjust it as needed.
- Download and save your resized photo.
Using Adobe Express:
- Go to Adobe Express and select “Resize Image.”
- Upload your photo.
- Choose a preset size or enter custom dimensions.
- Adjust the image to fit.
- Download and use your perfectly sized picture.
Perfect Fit: Resize Without Blurry Edge
Resizing photos for Instagram can sometimes make them look blurry. If you want your images to stay sharp, focus on keeping the quality high when adjusting the size.
Resolution Tips: How to Avoid Pixelation
Since stretching a small photo will look pixelated, start with a high-resolution one. Photoshop, Canva, and Adobe Express can reduce photo size without compromising quality. Choose “Maintain Aspect Ratio” to avoid stretching.
Selecting the Appropriate File Format (JPEG vs PNG)
The right file format matters too. JPEG is best for Instagram because it’s small and high-quality. If your image has text or a transparent background, PNG is great but slower to load. JPEG is best for sharp photos that upload quickly.
Troubleshooting Common Issues
Instagram posts sometimes go wrong. Photos may blur, crop, or refuse to upload. If that happens, try these quick fixes.
Fixing Blurry Uploads or Sudden Cropping
If your Instagram photos appear blurry or get cropped unexpectedly, consider these steps:
- Check Your Internet Connection: A weak or unstable connection can cause images to upload poorly. Ensure you’re connected to a reliable network.

- Adjust Instagram Settings: Disable the data-saving feature to improve upload quality. Go to your profile, tap the three lines in the top right corner, select ‘Settings,’ then ‘Account,’ and finally ‘Cellular Data Settings.’ Turn off ‘Data Saver.’

- Use Proper Aspect Ratios: Instagram supports aspect ratios between 1.91:1 and 4:5. Uploading images within this range prevents unwanted cropping.
Why Your High-Res Photo Won’t Post And How to Fix It

If your high-resolution photos aren’t posting correctly:
- Resize Before Uploading: Instagram compresses large images, which can reduce quality. Resize your photos to a width of 1080 pixels to maintain clarity.
- Choose the Right File Format: Save your images in JPEG format for better compatibility and quality on Instagram.
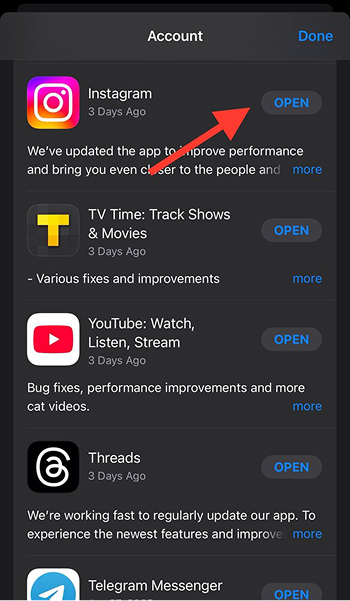
- Update the App: Ensure you’re using the latest version of Instagram, as updates often fix bugs affecting uploads.
Final Words
Instagram gives you plenty of ways to post full-size photos without losing quality or important details. If you are uploading a single picture or a carousel of images, knowing how to adjust sizes and use the right tools makes all the difference.
We covered Instagram’s built-in options, like the expand icon for single photos and the resize tool for carousel posts. If Instagram still crops your image, third-party apps like Canva and Adobe Express can help you resize without losing clarity. AI-powered tools can also extend image edges when needed.
To keep photos sharp, we explored ways to avoid pixelation, choose the right resolution, and pick the best file format (JPEG for most photos, PNG for those with text or transparency). It might help to turn off data saver mode and check your internet connection if uploads still look blurry.
With these tips, you can change how your Instagram photos look in any way you want. Now you can try different things and post your pictures the way you like!